Installing and wiring a boat anchor winch is essential for ensuring a smooth and efficient anchoring process. A properly wired anchor winch saves time and effort while enhancing safety during operations. Below is a step-by-step guide to help you wire a boat anchor winch effectively.
Tools and Materials Needed
- Anchor winch
- Marine-grade wiring
- Circuit breaker
- Toggle switch or remote control
- Battery (12V or 24V)
- Terminal connectors
- Crimping tool
- Marine-grade electrical tape
- Heat shrink tubing
- Wire cutters and strippers
Step-by-Step Guide
-
Plan the Installation
Determine the mounting location for the anchor winch and the placement of the switch or control panel. Ensure the battery is close enough to reduce voltage drop but remains secure and protected.
-
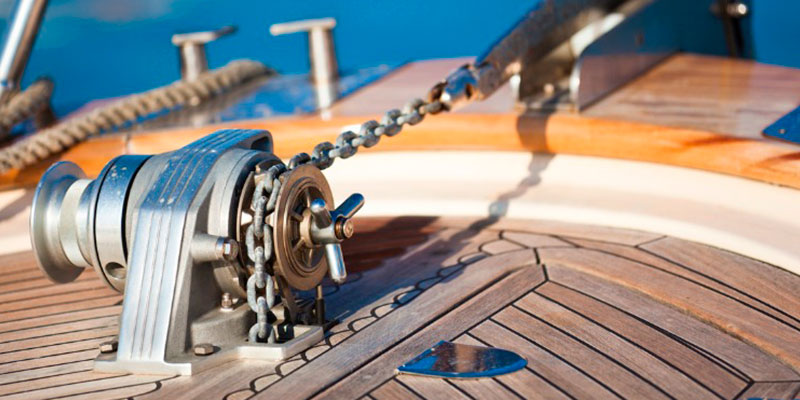
Position the Anchor Winch
Install the anchor winch according to the manufacturer’s instructions. Ensure it is securely mounted on the bow or stern and aligned correctly to handle the anchor rope or chain.
-
Connect the Circuit Breaker
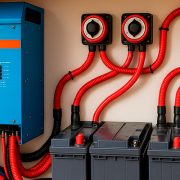
Install a circuit breaker near the battery to protect the electrical system from power surges or short circuits. Connect the positive (+) terminal of the battery to the input side of the circuit breaker using marine-grade wiring.
-
Run the Wires
Run the wiring from the battery to the anchor winch motor, keeping the wires as short as possible to minimize voltage drop. Secure the wires along the boat’s structure with cable ties or clamps.
-
Install the Switch or Remote Control
Mount the toggle switch or remote control in an accessible location. Connect the wiring from the switch to the anchor winch motor and the battery as per the wiring diagram provided. Most winches require connections for power, ground, and control.
-
Make Electrical Connections
Strip the ends of each wire and attach terminal connectors. Connect the positive wire to the circuit breaker and the winch motor’s positive terminal. Attach the ground wire to the battery’s negative terminal and the motor’s negative terminal. Seal all connections with heat shrink tubing or electrical tape for waterproofing.
-
Test the System
Test the anchor winch using the toggle switch or remote to ensure smooth operation in both directions. Address any interruptions or unusual sounds immediately.
-
Secure the Wiring
Tidy up the wiring with zip ties and ensure they are protected from potential damage or exposure to harsh weather conditions.
Maintenance Tips
- Regularly inspect all connections for corrosion or wear.
- Ensure the wiring remains secure and free from abrasions.
- Check the circuit breaker functionality periodically.
By following this guide, you can wire your boat anchor winch for reliable and safe operation. Proper wiring not only enhances performance but also extends the life of your winch and electrical system.
Additional Safety Considerations
Using appropriately sized wires and corrosion-resistant connections is critical for a reliable system. Regularly inspect the winch, wiring, and connectors for wear or damage, especially in marine environments.
Ensuring Proper Grounding
Ensure the system is well-grounded to handle the winch’s power demands without interruptions. Securely connect the ground wire to the battery and check grounding points periodically.
Managing Cable Runs
Protect wiring from abrasion by using hawse pipes or conduits. Plan the cable route to avoid sharp bends and use clamps to secure the wires in place.
Improving Longevity
Maintain your winch system by applying waterproofing to all connections and inspecting components regularly. Proper maintenance extends the life of the winch and ensures reliable operation.
How to Wire a Boat Anchor Winch: Conclusion
Wiring a boat anchor winch is a fundamental step to ensure a safe and efficient anchoring experience. By carefully following the outlined steps and maintaining your system regularly, you can enjoy reliable performance and enhance the overall safety of your boating adventures. Investing time in proper installation and care not only protects your equipment but also contributes to a seamless and enjoyable marine experience.

