Introduction
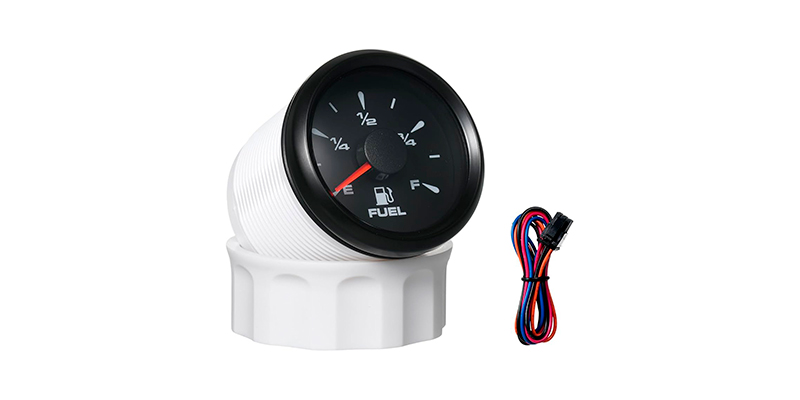
Testing your boat fuel gauge is essential for ensuring accurate fuel readings and preventing unexpected fuel shortages during your voyages. A properly functioning fuel gauge plays a critical role in maintaining safe operations and effective planning for any marine journey. This article explains how to test a boat fuel gauge, highlighting key steps and precautions for yacht equipment and boats spare parts maintenance.
Why Test a Boat Fuel Gauge?
An accurate fuel gauge is vital for avoiding miscalculations in fuel consumption and ensuring that your vessel always has enough fuel for the trip ahead. Over time, factors such as wiring issues, sensor wear, or environmental conditions can affect gauge accuracy. Regular testing helps detect problems early and keeps your boat running safely.
Tools and Materials Needed
- Multimeter
- Screwdriver set
- Marine-grade wiring and connectors
- Cleaning supplies for contacts and sensor area
- Manufacturer’s installation manual (for reference)
Step-by-Step Guide
1. Visual Inspection
Begin by inspecting the fuel gauge and its wiring. Check for any signs of corrosion, loose connections, or damaged wiring. A clean, secure connection is key to accurate readings.
2. Verify Power Supply
Use a multimeter to ensure that the gauge is receiving the correct voltage from your boat’s power system. Refer to your manufacturer’s specifications for the correct voltage range.
3. Test the Sensor
The fuel gauge sensor, usually located in the fuel tank, sends a variable resistance signal to the gauge. With the multimeter set to measure resistance, check the sensor’s readings. Compare your results to the values provided in the manufacturer’s manual.
4. Check Wiring and Connections
Follow the wiring from the sensor to the gauge. Look for any signs of wear or poor connections. Clean the connectors if necessary, and tighten any loose fittings. Faulty wiring is a common cause of inaccurate fuel readings.
5. Calibrate the Gauge
If your fuel gauge readings are off, consult the manufacturer’s instructions to recalibrate the gauge. Calibration may involve adjusting a potentiometer or updating settings on the gauge module.
6. Final Testing
After performing repairs or calibration, test the gauge by simulating various fuel levels. Verify that the gauge needle or digital display responds correctly as the fuel level changes.
Troubleshooting Tips
- If the gauge does not respond at all, check the fuse and battery connections.
- Inconsistent readings may indicate a failing sensor or loose wiring.
- Refer to your vessel’s manual for troubleshooting specific to your fuel gauge model.
Conclusion
Testing a boat fuel gauge is a straightforward process that can save you from unexpected fuel shortages and potential safety hazards. By performing regular inspections, verifying the power supply, testing the sensor, and calibrating the gauge as needed, you ensure that your yacht equipment works reliably. Proper maintenance of your boats spare parts not only improves performance but also extends the life of your fuel system. Follow these steps to keep your boat fuel gauge accurate and dependable.