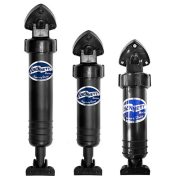
Replacing a Lenco trim tab actuator is a manageable task that can restore optimal performance to your boat’s trim system. Follow this step-by-step guide to ensure a successful replacement:
1. Safety Precautions
- Ensure the boat is securely out of the water and stable.
- Disconnect the battery to prevent electrical hazards.
2. Identify the Faulty Actuator
Operate the trim tabs to confirm which actuator requires replacement.
3. Gather Necessary Tools
- Screwdrivers
- Wrenches
- Marine-grade sealant
- Replacement actuator compatible with your Lenco trim tab system
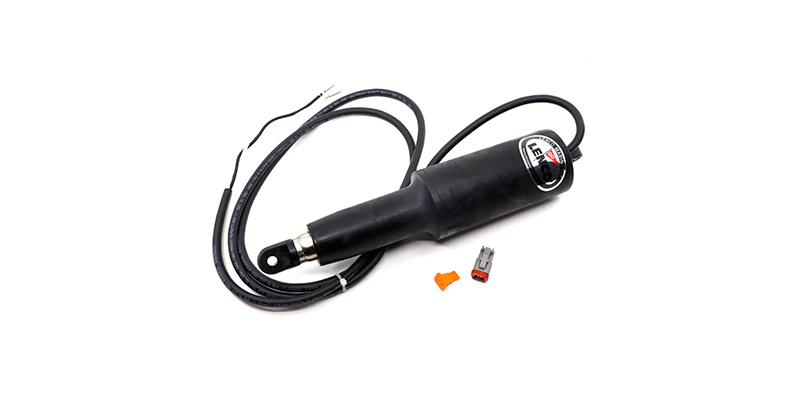
4. Remove the Faulty Actuator
- Locate the actuator’s wiring inside the boat. Disconnect it, noting the wiring configuration.
- On the transom, remove the screws or bolts securing the actuator to the mounting bracket and trim tab.
- Carefully detach the actuator, ensuring not to damage surrounding components.
5. Install the New Actuator
- Position the new actuator, aligning it with the existing mounting holes.
- Secure it to the trim tab and mounting bracket using appropriate hardware.
- Route the actuator’s wiring through the transom, applying marine-grade sealant to prevent water intrusion.
- Inside the boat, connect the actuator’s wiring, matching the previous configuration.
6. Test the New Actuator
- Reconnect the battery.
- Operate the trim tabs to verify proper functionality of the new actuator.
Additional Tips
- Consult the manufacturer’s instructions specific to your actuator model.
- Regularly inspect and maintain trim tab components to extend their lifespan.