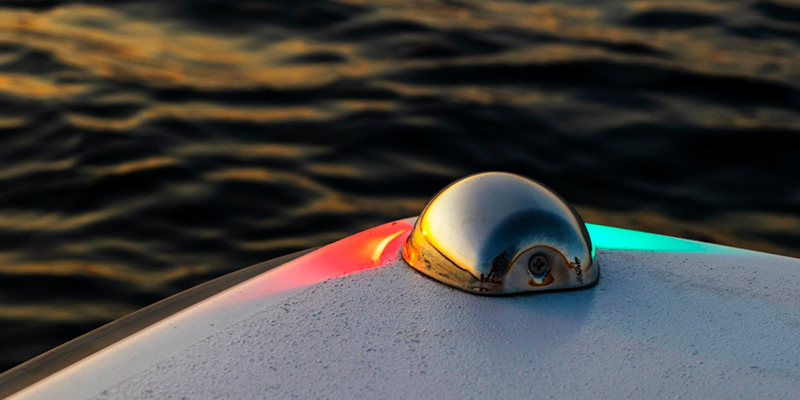
Properly functioning navigation lights are essential for boating safety, especially when you’re on the water during the night or in low-visibility conditions. If your navigation lights are not working, it’s important to address the issue quickly. Here’s a step-by-step guide on how to fix navigation lights on your boat.
If your navigation lights are not functioning, there could be several common issues to check. Start by inspecting the bow light, stern light, and mast light to see if any are dim or not working at all. Use a 12v tester or volt meter to check if power is reaching the lights, starting from the rocker switch at the dash and working toward the stern or bow lights. If the light bulb is intact but still not working, inspect the socket for corrosion, bad connections, or a broken wire. It’s also important to check the fuse or breaker to ensure it hasn’t tripped. If the lights work fine but flicker, there may be a problem with the wiring, such as high resistance or a bad connection.
Step 1: Inspect the Lights
The first step in fixing your boat lights is a simple visual inspection. Check each light to see if there’s any visible damage, such as cracks or moisture inside the light housing. Also, make sure the bulbs are not burned out. If you spot any damage, the light fixture or bulb may need to be replaced.
Step 2: Test the Power Supply
If the light fixtures and bulbs seem intact, the next step is to test the power supply. Use a multimeter to check if there is voltage reaching the light. First, turn on the boat’s power, then place the multimeter leads on the positive and negative terminals of the light. If there is no voltage reading, the issue may be with the wiring or the fuse.
Step 3: Check the Fuse
Navigation lights are typically wired through a fuse box. If your lights aren’t working, the fuse may be blown. Open the fuse box and locate the fuse for your nav lights. If the fuse appears blackened or damaged, it will need to be replaced. Make sure to use a fuse of the same amperage rating as the one you’re replacing.
Step 4: Inspect the Wiring
If the fuse is in good condition, the next step is to inspect the wiring. Over time, the boat’s wiring can become corroded, loose, or damaged. Check for any visible signs of corrosion or breaks in the wire. Pay special attention to areas where the wires are exposed to water or other harsh conditions.
Step 5: Clean or Replace Corroded Connectors
Corrosion is a common issue on boats, especially around electrical connectors. If you notice corrosion, clean the connectors using a wire brush or sandpaper. After cleaning, reconnect the wires and test the lights again. If cleaning doesn’t solve the problem, you may need to replace the connectors.
Step 6: Replace the Bulbs or Light Fixtures
If the wiring and power supply are in good condition but the lights still aren’t working, it may be time to replace the bulbs or the entire light fixture. Make sure to purchase navigation lights that are compatible with your boat and comply with the local boating regulations. Installing new lights is a straightforward process, but be sure to follow the manufacturer’s instructions for proper installation.
Step 7: Test the Lights Again
After making repairs or replacing parts, it’s important to test the lights to ensure they are working correctly. Turn on your boat’s navigation lights and walk around the vessel to verify that all lights—red, green, and white—are operational. If everything is working, you’re good to go!
How to Fix Navigation Lights on a Boat : Conclusion
Fixing nav light on a boat is an essential maintenance task that ensures your safety on the water. Whether the issue is a blown fuse, corroded wires, or a burned-out bulb, the steps outlined above will help you troubleshoot and repair the problem. Always make sure your navigation lights are functioning properly before heading out on the water, especially in low-visibility conditions.

